Most private landline phone users in Luxembourg use a FritzBox to connect their phones (often DECT phones) to the national telephone network, supposed they still have a landline phone in their home. Although that the FritzBox really does an excellent job at this and is very easy to use, I always felt that I wanted to have more control over my VoIP server. The path to go was for me to move over to locally hosted FreePBX server.
So I started installing FreePBX (16) in a virtual machine on my ProxMox server, providing it with decent resources (64 GB Disk, 4 GB RAM, 2 cores) and put it into the isolated Phone VLAN in my network, together with my VoIP phones (and my FritzBox phone server).
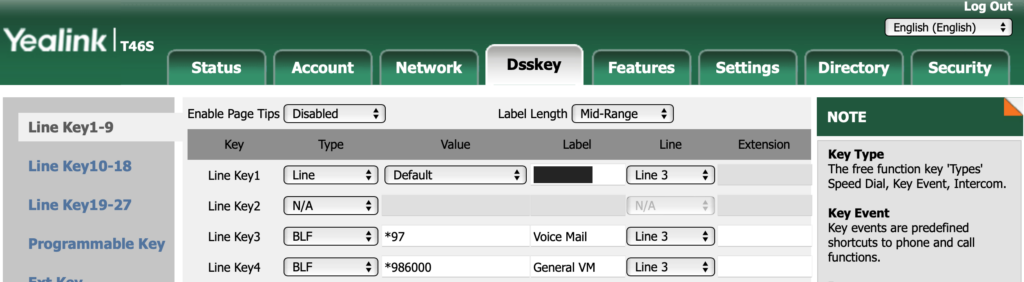
In order to get started with a single phone, you need to:
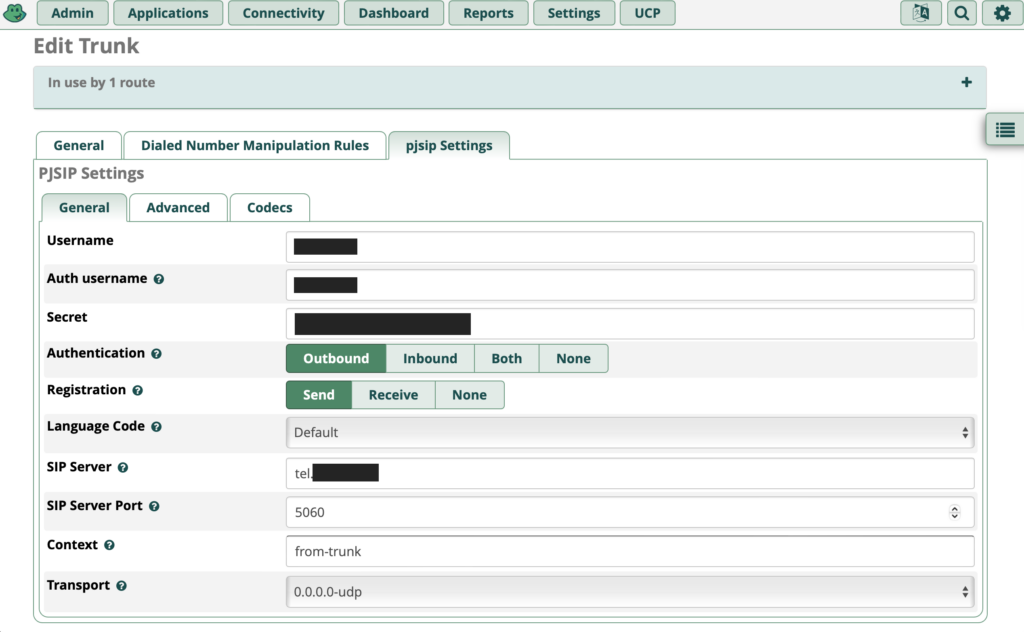
- define a SIP trunk (virtual phone line to the outside);
- create an extension for your phone in FreePBX;
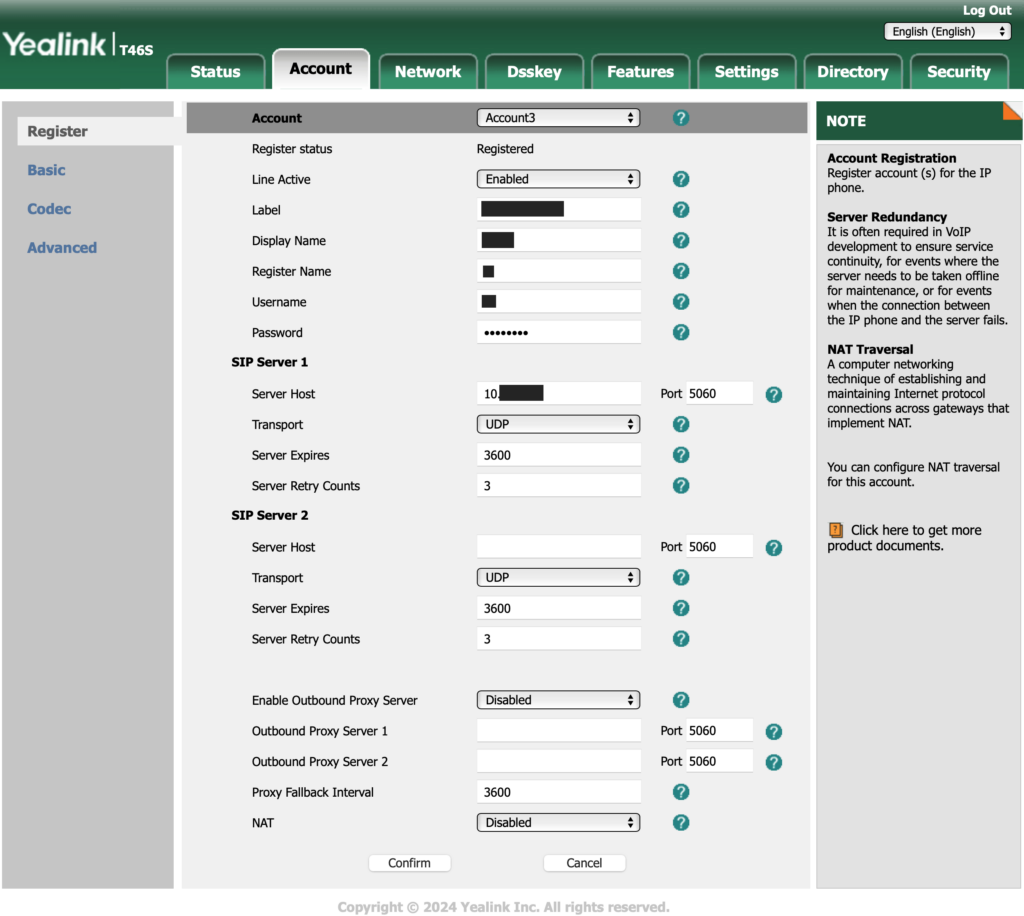
- connect your VoIP phone to the FreePBX server, using the extension;
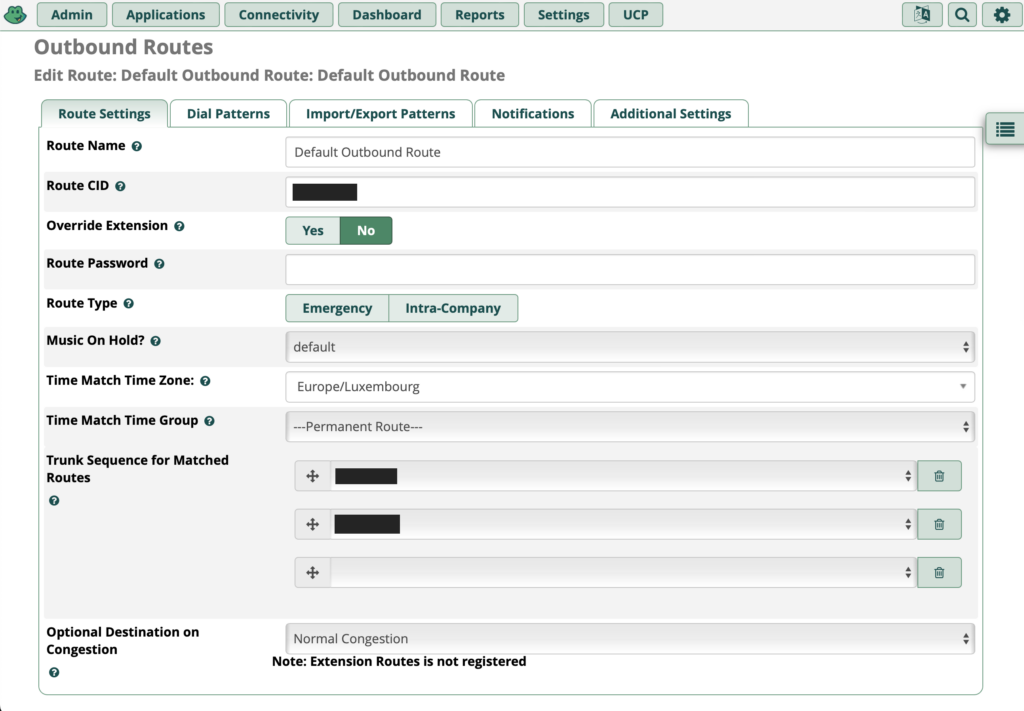
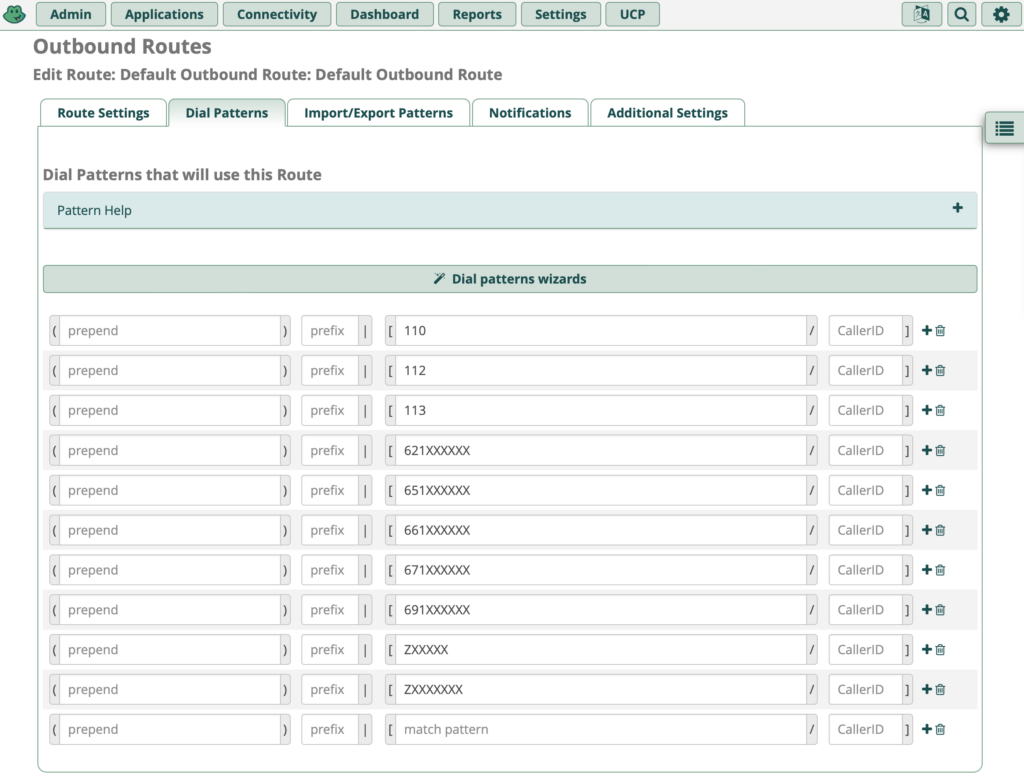
- define an outbound route for outgoing phone calls;
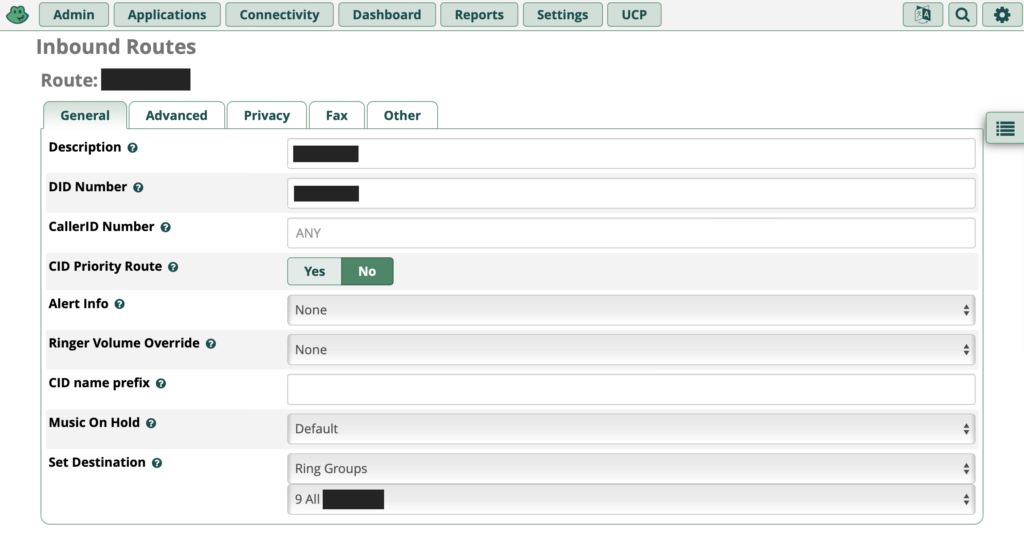
- define an inbound route for incoming phone calls;
- make sure FreePBX’s firewall let’s you connect your phones and your uplink phone line and does not interfere with the connections;
- make sure your local network’s firewall does not block communications between your FreePBX, the uplink server (Internet) and the internal phone devices.
Caution
I was experimenting with FreePBX using a second VoIP number and in the same time keeping my other number online through the Fritzbox. This allowed me to do outbound calls on the FreePBX attached phone using the second number, but I was unable to receive inbound calls on that line. When calling inbound from the cellphone, the line appeared ringing, but no phone (extension) received the call. No entries were found in the FreePBX log file neither. So I assume that running the Fritzbox and the FreePBX system in parallel in a home network seems to lead to routing issues. The Fritzbox seemed to be the master receiver, as the other VoIP number still worked fine. This is all hypothetical, but in my case, things didn’t work. Shutting down the Fritzbox, and waiting for a few minutes, allowed the FreePBX system to receive the incoming calls too.